Healthy Chocolate Chips Cookies

Gluten ans dairy free!

Gluten ans dairy free!

I’m not really a sweets person, but chocolate chip cookies were always my weakness. For a while now I was on a mission to find a vegan+ gluten-free chocolate chip cookie that does not apologizing for lacking these core and iconic ingredients. GF and vegan options can be SO disappointing sometimes, but deep inside I knew it can be done: it can be delicious and comforting just like the original version!

After many tries, I think I finally have it! I make this recipe often, as it’s so perfect for the afternoon sugar crash, and it passed the “Dave test”, who doesn’t care for gluten+dairy free diet. This recipe doesn’t call for fancy ingredients; it is minimal, easy, quick, and most importantly- makes real yummy cookies.

A few notes/tips:
1. If you are strictly on a gluten/dairy free diet, please CHECK the chocolate chips/candy ingredients, so you are not using a product with gluten/dairy by accident.

2. Make sure the almond butter (or any nut/seed butter you use) is completely SMOOTH and mixed. Usually the oil rises to the top of the jar. You should mix it very well before adding, otherwise the cookies might come out dry.

3. Wait until these are completely cool before trying them out! These will seem to be very soft when you take them out of the oven, but usually they are done after 8-10 minutes. Carefully check the bottom of the cookies for doneness level.

4. These cookies aren’t so sweet on their own… the main sweetness comes from the added chocolate chips. I usually pack them with chocolate chips, but it’s really up to you and your preference. I recommend using mini chocolate chips and not the regular CC, just because it’s easier to disperse evenly around this dough.

Ingredients:
1 flaxseed egg (1 tablespoon flaxseeds + 3 tablespoon water & let sit for 15 min)
1/4 cup coconut sugar
1 tablespoon maple syrup
Dash salt
1/2 cup GF oats
1 teaspoon baking SODA
1 cup smooth almond butter (or any nut/seed butter)
1/2 cup GF & vegan mini chocolate chips
1/2 cup M&Ms, walnuts or any other topping. *If using M&Ms it won’t be DF

Directions:
1. Preheat your oven to 350f and line two baking sheets with parchment papers.
2. Stir your almond butter super well, so it’s all smooth and creamy.
3. Mix all ingredients by the list order until well combined.
4. Scoop into balls (usually 16-22 depends on size) and slightly flatten.
5. Bake 8-10 min (depends on oven and size).

Oat vegan pumpkin muffins!

oat+pumpkin+muffins

For the past 4 years my breakfast was pumpkin muffins on repeat. Fall, winter, summer, it doesn’t matter! They are sweet, comforting, and a great breakfast on the go. Easy to prepare a dozen before starting the week and running out of time for healthy breakfasts.

Before I did AIP diet I had one favorite recipe (linked here!), but it had protein powder, which I didn’t reintroduce yet! So as soon as I introduced oats back to my life, I found this NEW favorite recipe. So comforting and yummy. I eat two a day…

These are gluten-free, vegan, and can be customized with different toppings like chocolate chips, walnuts, raisins… get as wild as you want!
Ingredients:
Wet:
* 1/3 cup extra-virgin olive oil
* 1/3 cup maple syrup or honey
* 2 eggs or flaxseed eggs
* 1 cup pumpkin purée
* 1/4 cup milk of choice (I used almond milk)+ 1 tbs apple cider vinegar
Dry:
* 2 teaspoons pumpkin spice blend
* 1 teaspoon baking soda
* 1/2 teaspoon salt
* 2+1/2 cup GF oat flour (just grind your oats until they are super fine!)
Instructions:
Mix all wet and dry ingredients separately. Then mix dry and wet together until well combined. Add chocolate chips, walnuts or anything you want!
BAKE at 325F for 25 minutes!

AIP Pumpkin Muffins (vegan+AIP)

6F6F2170-C8CF-4A58-BEFE-EE6E0F9FFA39.JPG

If you’ve been following me for a while, you probably know I’m obsessed with one breakfast and one breakfast alone:
Pumpkin muffins. Here’s the OG recipe…

Yea, it’s been going on since like 2018.
Going on AIP diet was hard, but the hardest meal for me was breakfast.
SO MANY muffin fails. It was so bad. But I didn’t give up. I needed these pumpkin muffins!

Today I want to share with you this AIP compliant recipe. I’ve tried it many times by now and it WORKS. I’m finally myself again, while staying gluten and dairy free!

A note about cassava flour: this recipe only works with Pamela’s cassava flour. Apparently Cassava flour is very finicky and different brands will produce different results. But, it’s a great GF flour that I think works well if you have a solid recipe.

Dry:
1 cup cassava flour
½ cup arrowroot powder OR tapioca flour
1/2 teaspoon baking soda
1 cream of tartar (or baking powder if not AIP)
1 teaspoons cinnamon
¾ teaspoon sea salt

Wet:
2 gelatin eggs (or flaxseed eggs if not AIP)
1/2 cup coconut sugar
1 cup pumpkin puree
1/3 cup mild olive oil

Mix in separate bowls the wet and dry, before combining together. Be careful not to over mix! As soon as it’s combined, divide to 12 cupcake cups and bake for 23-25 min.
*ENJOY*

E96D6BF7-3CE5-4E75-BF4A-F058F35FDD1E.JPG

AIP vegan "Queso"

queso

Meet the AIP vegan “Queso” sauce/dip

Who thought a pandemic would be a good time to try new things to benefit our health?

A few months ago, I found myself stuck at home with my gut inflammation that refused to go away. After doing another round of online research, I decided to try the Autoimmune Protocol (AIP) Diet. It's an elimination diet, and while I've tried others before I thought to give this one a go. In the *old world* it was really hard to do an elimination diet, especially during long days with work and gigs. Now since I am home all the time, I didn't have any excuses.

I decided I did not want to be hungry despite the limited choice of food you can eat. So, I filled the house with AIP compliant foods and ingredients and spent most of my waking hours researching recipes. I wanted to be creative and have fun with it. I could finally unleash the crazy kitchen scientist in me. 

What did I miss the most? CHEESE. It's impossible to find something to fulfil this craving for cheese. All the vegan cheese replacements have SO many additives that are not allowed in this diet (and things we should avoid in general anyway). I was really shocked by how I couldn't find ONE cheese replacement that didn't have all this sh+t. 

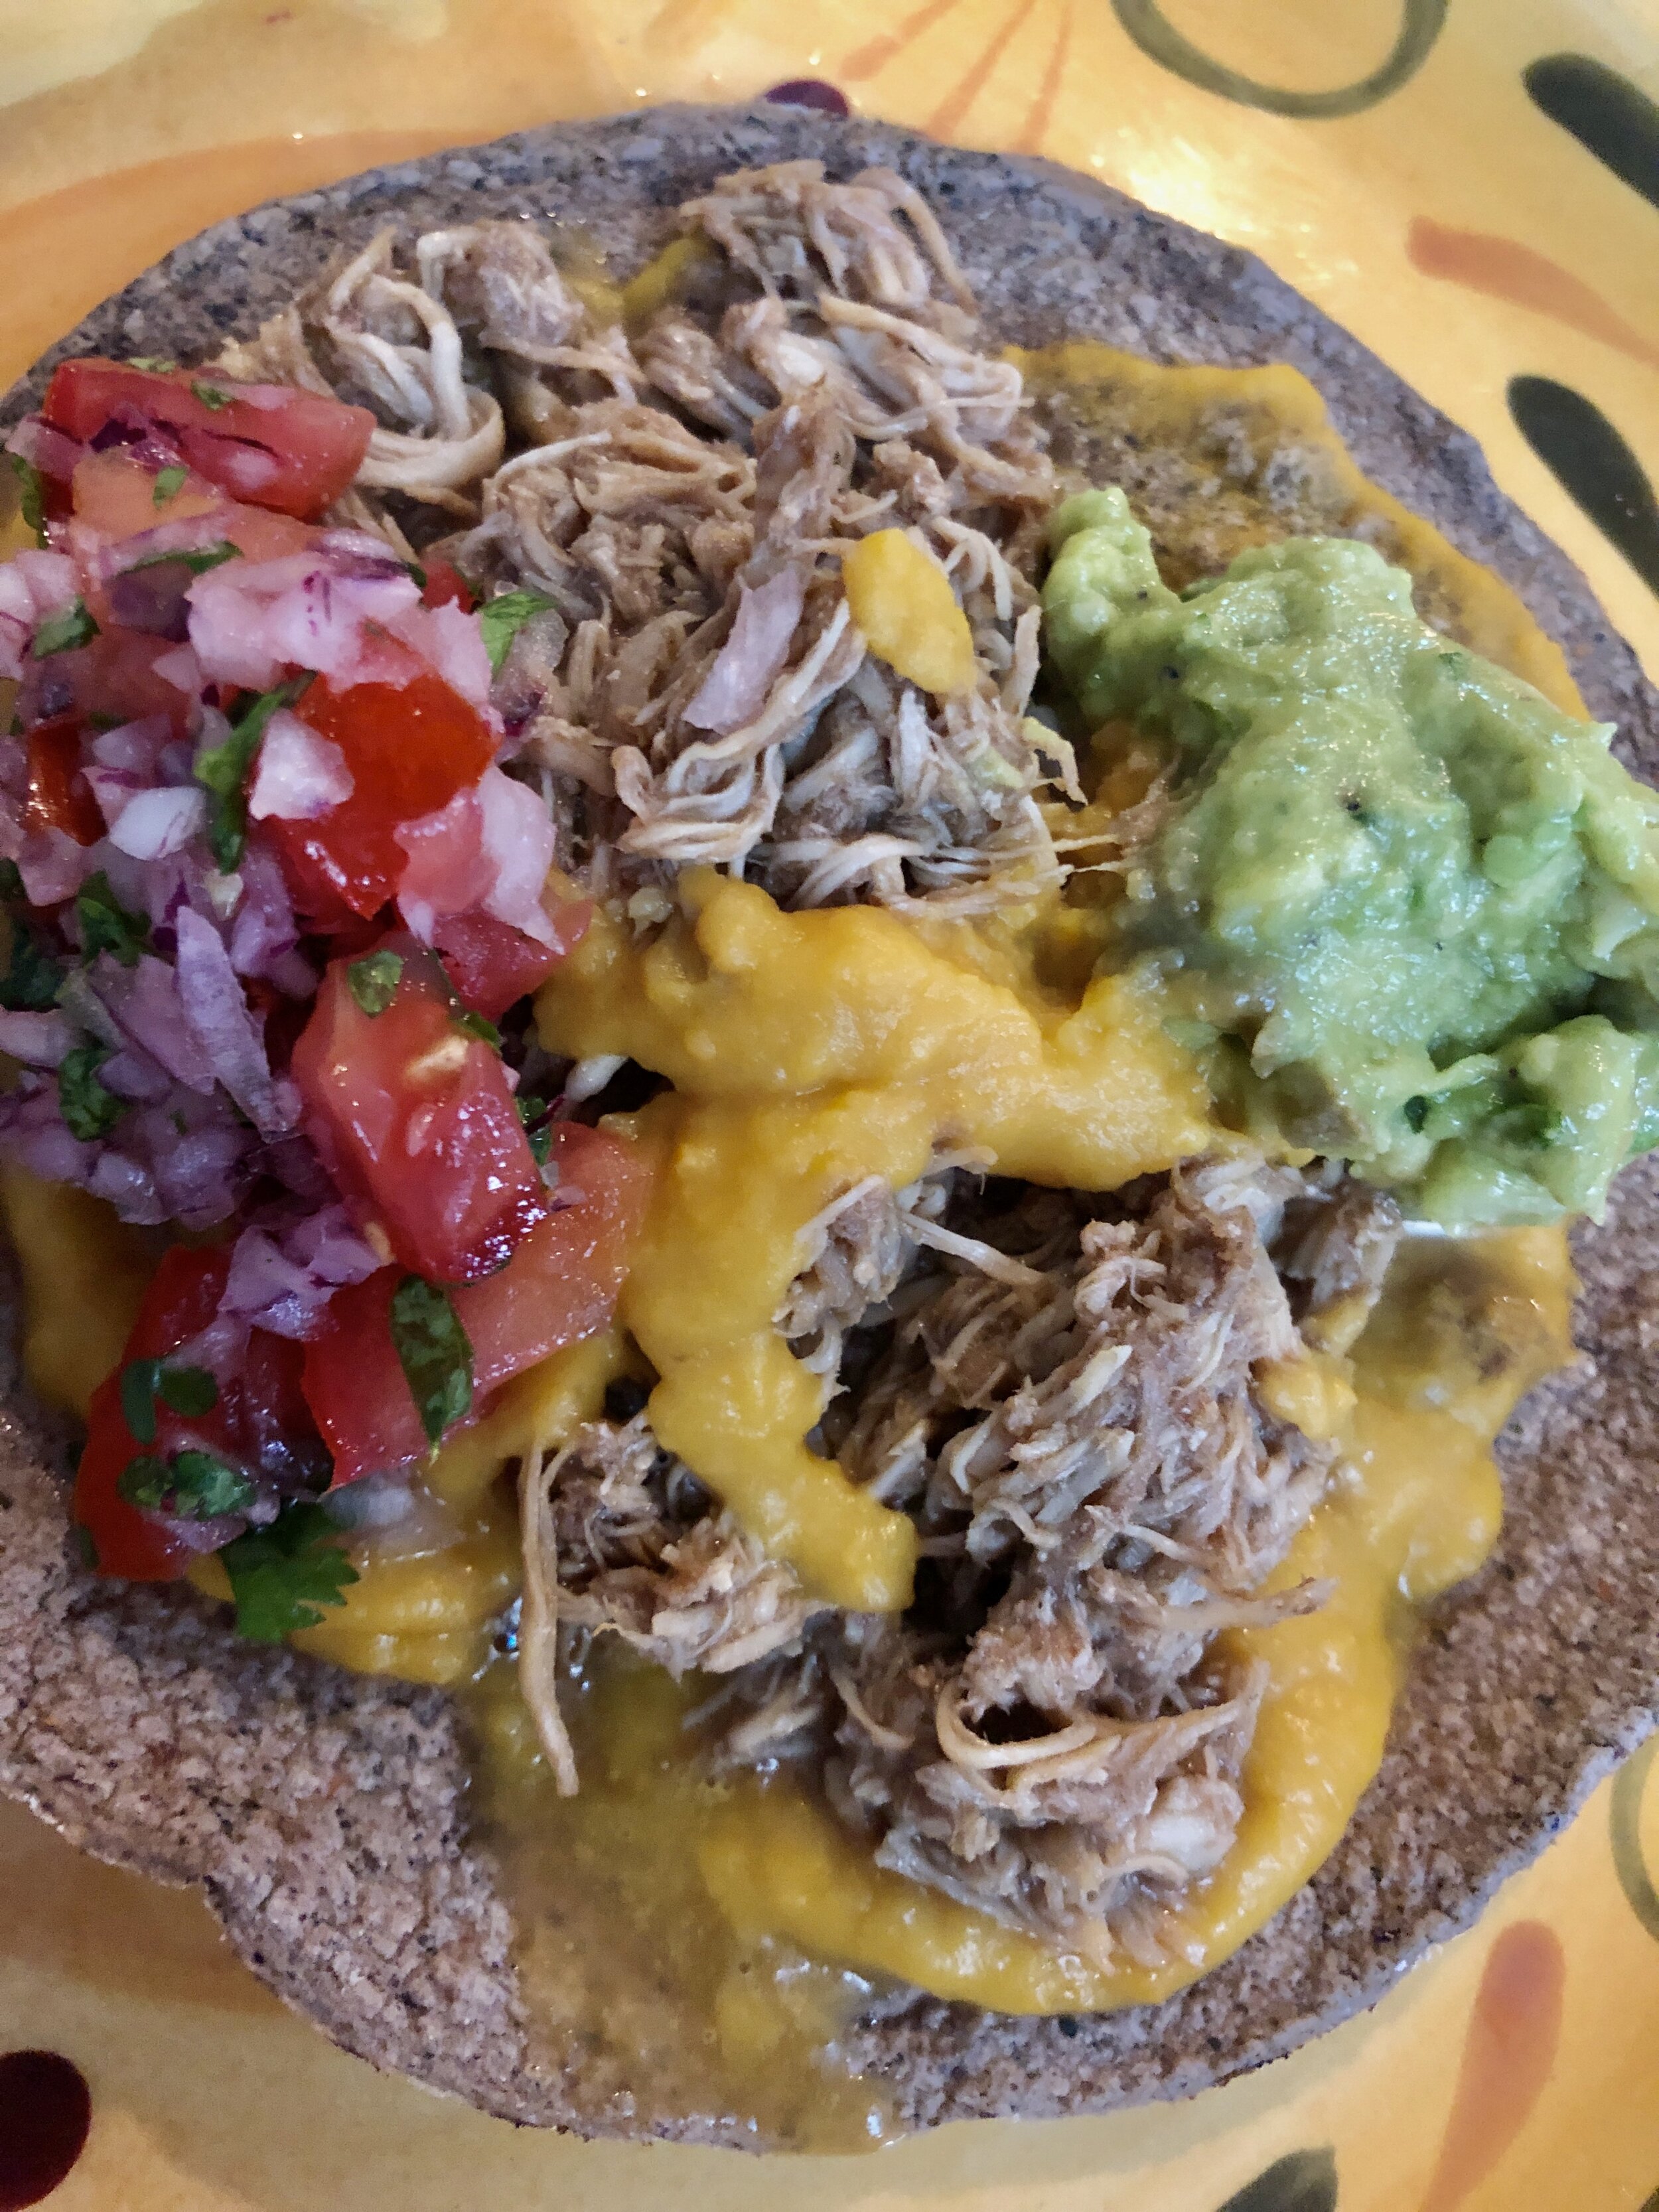
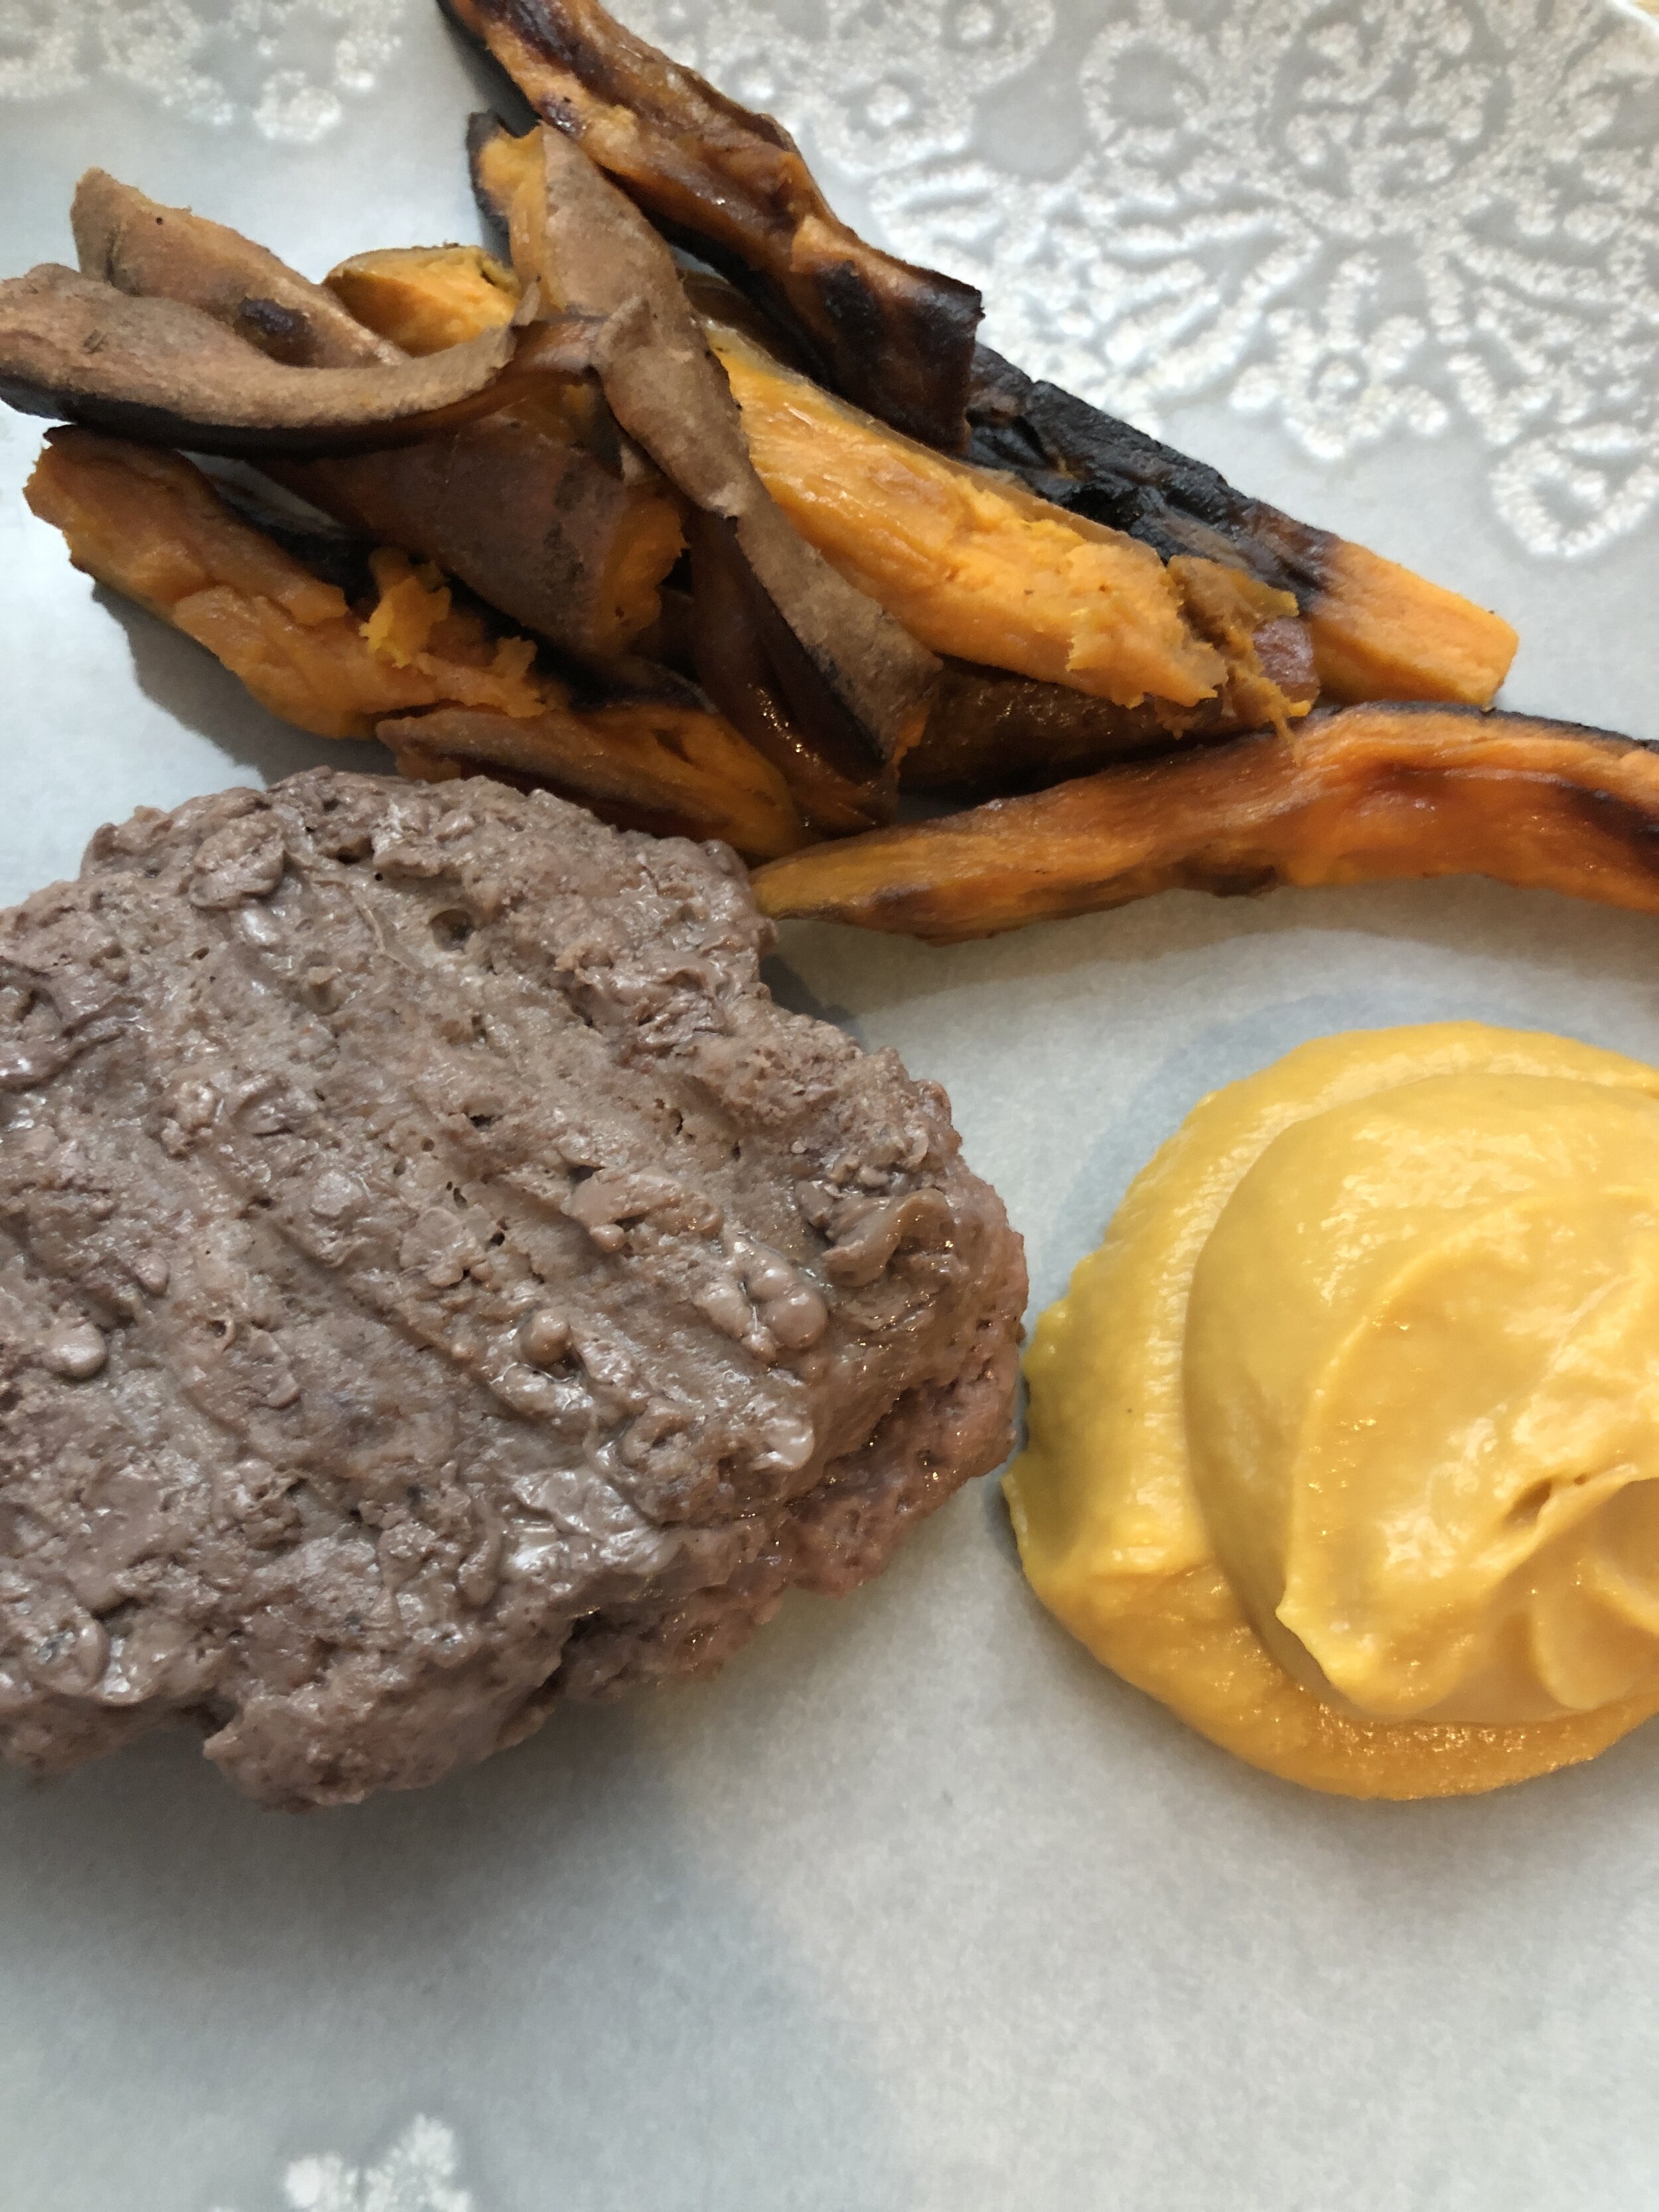
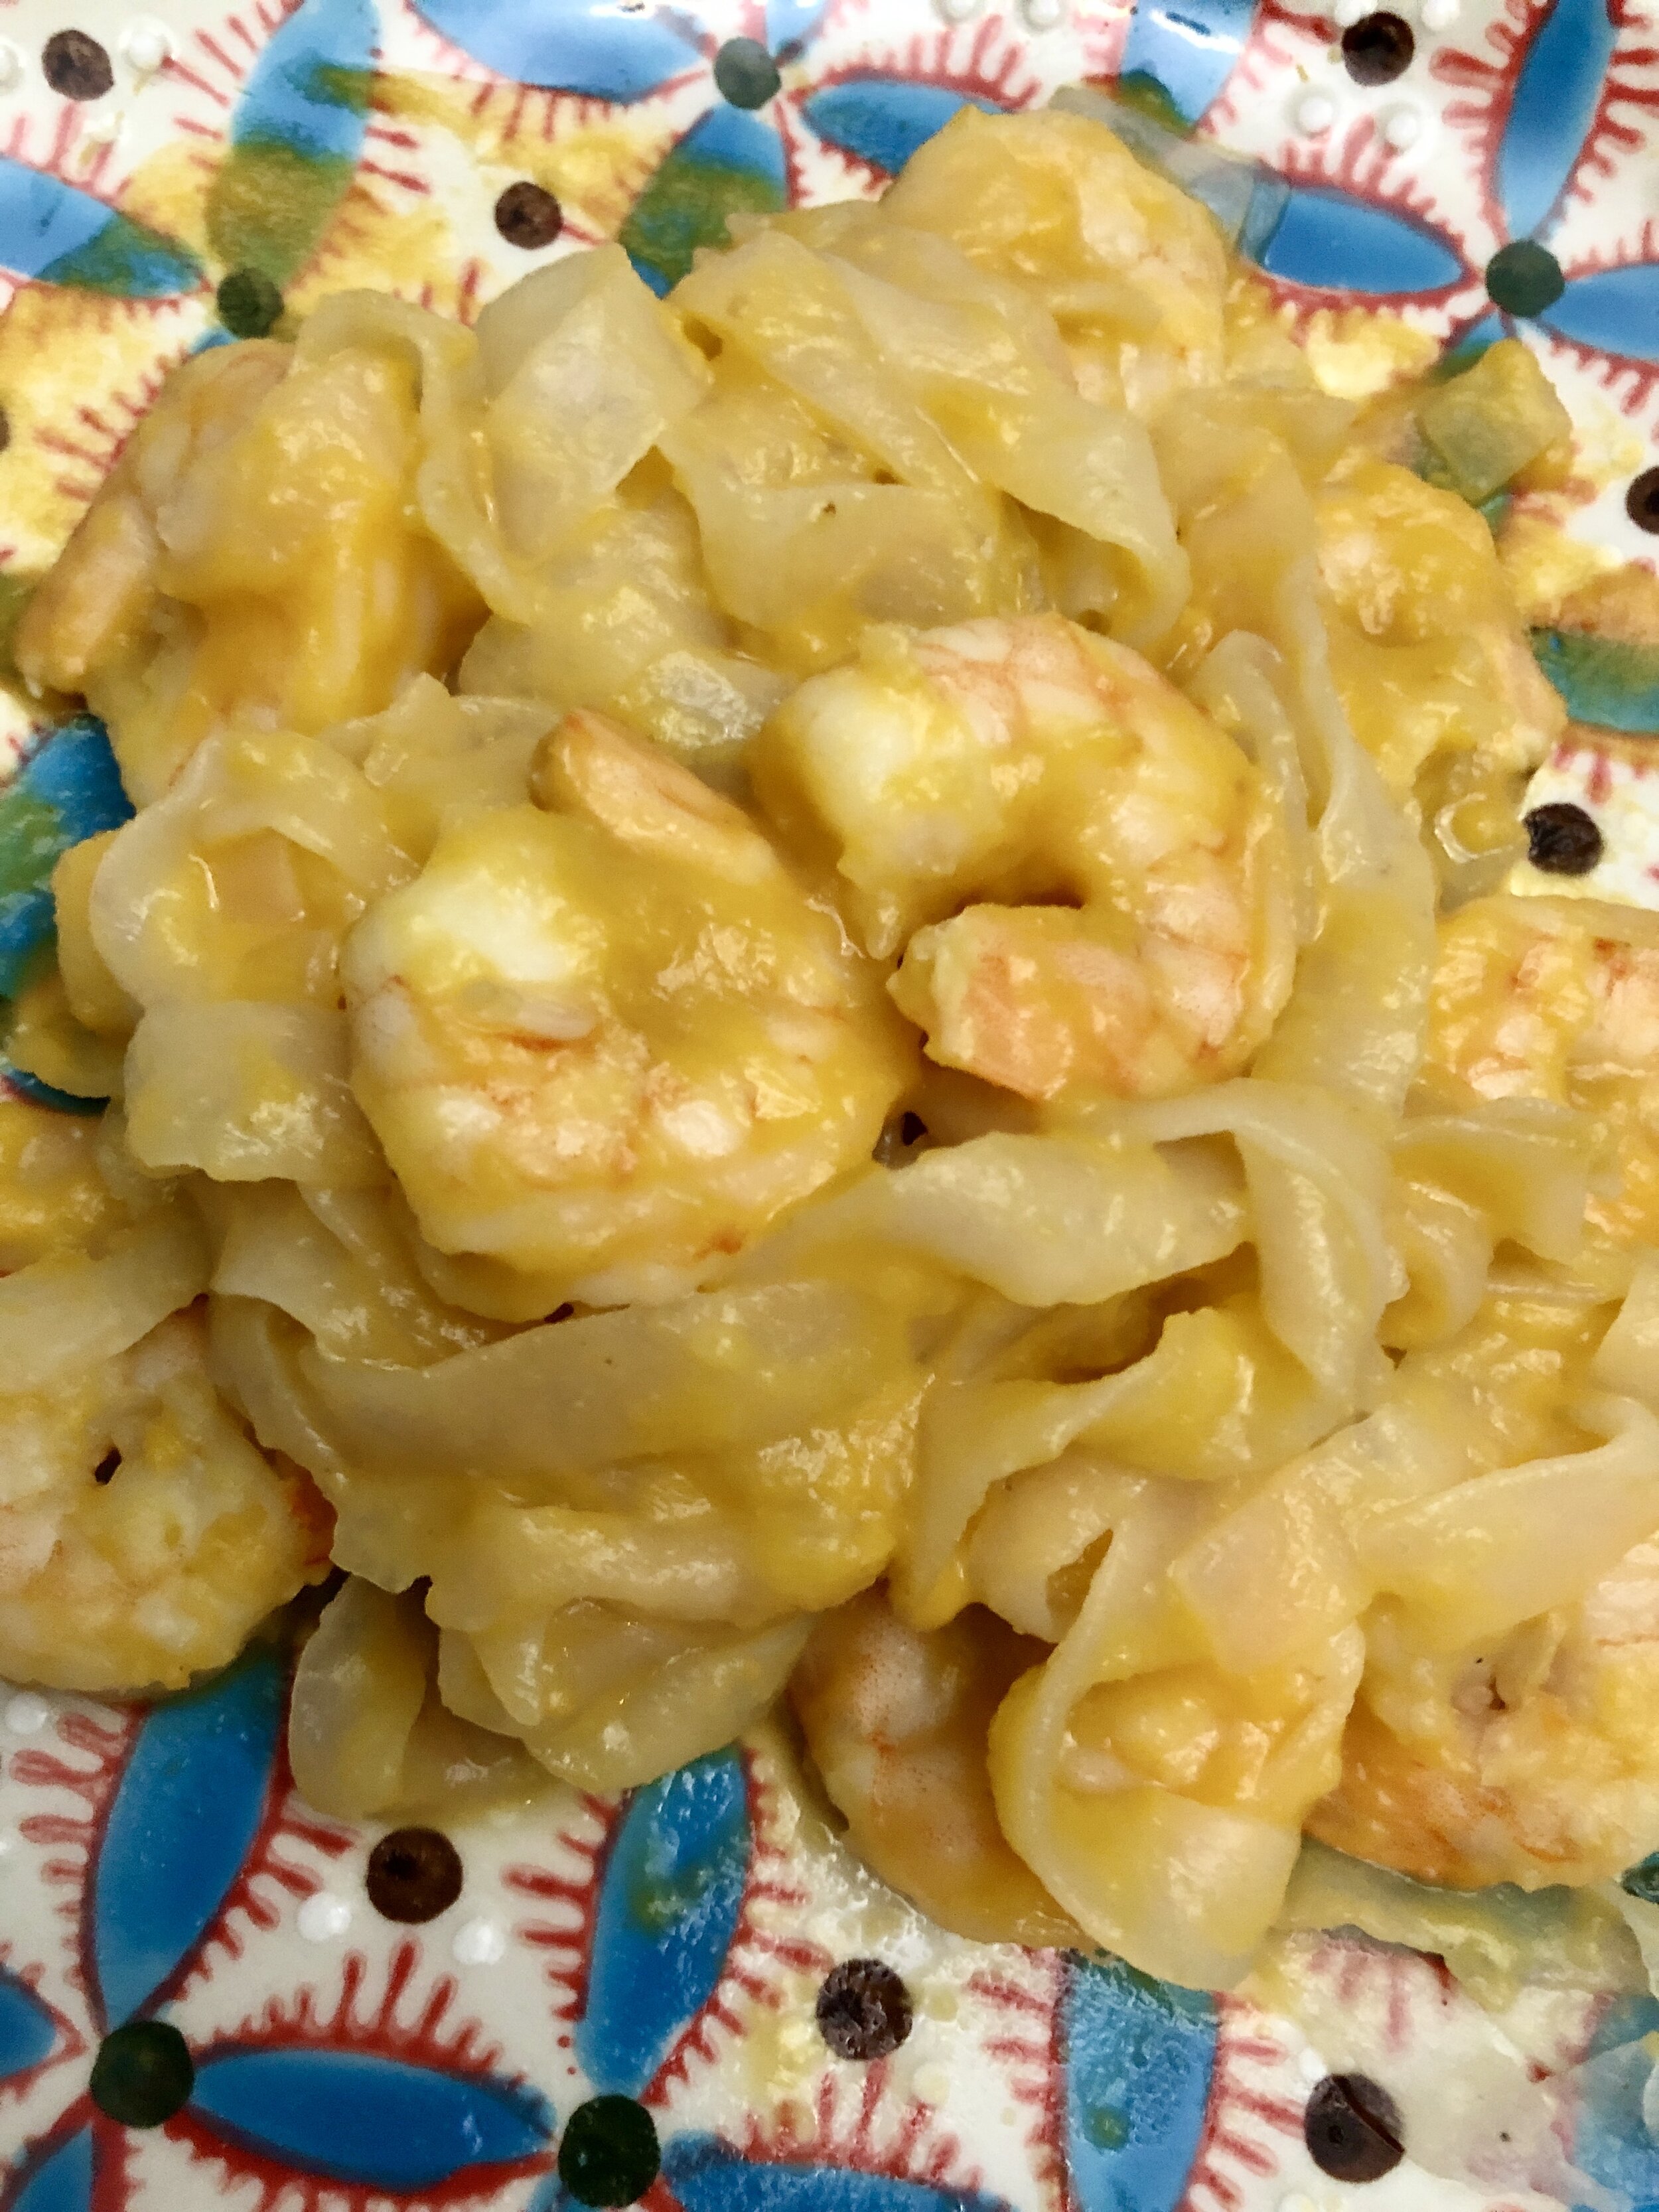
After some trial and error, I created the perfect "queso" that really helps with my cheese cravings. The butternut squash and coconut milk make it creamy, the sweet potato makes it sweet, and the nutritional yeast and salt make it tangy. 

I like it so much that I started to make double batches. Actually, even Dave is hooked and he's not on AIP! 

I hope you like it. Don't forget to tag/comment and let me know what you think!

Ingredients:

1 tbsp olive oil
1/2 onion, diced
1/2 cup sweet potato, peeled and diced
1 can butternut squash puree1/2 cup coconut milk ("full fat", usually in a can)
3 tbsp nutritional yeast
1 tsp sea salt (be generous with the salt. add more if needed!)

What to do:

1. In a medium pot warm the olive oil on low heat
2. Add the diced onion and sauté until soft
3. Add the sweet potato and sauté 3 minutes with the onion
4. Add butternut squash puree and coconut milk and raise the heat to boil
5. Reduce heat and let simmer for 20-30 minutes, until sweet potato is very soft
6. Add nutritional yeast and salt
7. Remove from the stove and with an immersion blender make a smooth dip (a regular blender can work too, it's just more of a mess to clean up)

Serving suggestions:

Siniya recipe (all that Middle Eastern yum)

Siniya

Making some of the best Middle Eastern dishes can be quite simple. The key is in what you use to make it: basic quality ingredients and specific spices!
This dish recently became one of the staples in my cooking. It’s easy to make, comforting to eat, filling, and most importantly: delicious. I serve it over rice, potatoes, or over a plate of hummus for gluten-free options.

Meat:
1 pound ground beef (or lamb!)
1/2 an onion, diced
1-2 carrots, cut to thin rounds
1 cup cilantro, chopped
1 1/2 tablespoons of hawayij*
1/2 teaspoon cinnamon
Salt and pepper to taste

Tahini sauce:
1/4 cup tahini
1/4 cup water
Juice from 1/4 slice of lemon
Salt to taste

Directions:
1. Pre-heat the oven to 400F degrees.
2. Heat some oil (about a tablespoon) in a large pan. I use olive oil but it can be any oil of your choice. Sauté the diced onion for about 2-3 minutes until it turns translucent, then add the sliced carrots. Cook until soft.
3. Line a 9x13 oven-proof dish or pan with tin foil.

4. Add the onions and carrots to the lined dish. Add all the spices and mix well.
5. Add the meat and mix very well until it is evenly coated with spices.
6. Add cilantro and mix well again.
7. Make sure the meat mixture is evenly spread in the pan and place in the oven for 20 min.
8. While the meat cooks, make the tahini sauce! Mix all the ingredients for the sauce in a small dish until smooth and runny. It might look weird at first, but keep mixing, eventually it will get to the right texture.
9. Take the meat mixture out of the oven and break up any large clumps of the meat with a fork.
10. Spread with tahini sauce evenly over the meat and put back in oven for 15 min.
11. Eat!

* Don’t feel like purchasing and experimenting with Hawayij? Make your own simple version:
1-1/2 teaspoon turmeric
1/2 teaspoon coriander
1/2 teaspoon cumin
pinch of pepper

Heal your gut MENU

A1922CE5-72C2-4930-BF5A-6587FC1B622C.JPG

Winter is taking a toll not only on our mood and energy levels, but also on our digestive system. It can be especially challenging for people with auto-immune conditions like Crohn’s and Ulcerative Colitis (ME!). Every March my main goal is to heal from this season of inflammation season that came with the winter storms and stress.

In general, I follow the main instructions for UC patients , but modify it a little. For example, I still drink coffee, but I avoid legumes and cruciferous vegetables like broccoli and cauliflower. I also avoid dairy and I ALWAYS try to stay away from processed foods (even when I feel 100%).

Here’s my menu for these sensitive weeks:

Break fast:
2 Pumpkin Muffins
Latte with almond milk (Matcha latte if avoiding coffee)

Lunch:
Nice portion of Rotisserie Chicken, GF grains and sauce (read about it from my previous post!)

Snack:
2 pumpkin oats balls or cocoa protein balls

Dinner:
Low-FODMAP veggies such as tomatoes, cucumber, carrots and bell peppers
Sourdough toast with avocado/baked tofu

Snack:
Almond/coconut milk yogurt with seeds and chocolate chips

I want to emphasis a few things:

  • This menu/lifestyle is not good for losing weight. Inflammation and discomfort are never about calories. My focus is to bring balance and health to my system. Being hungry is out of the question.

  • We are very different from one another, and there’s not one menu that fits all. You might have to sub coffee with matcha or herbal tea. If you are vegan/vegetarian the protein will also look different of course.

  • This menu is dairy free but not gluten free. I’m not sensitive to gluten (but yes to gazillion other things…) so that’s why I’m consuming some gluten (though not a lot). This is something that you can experiment with and see for yourself. You can go all GF or consume some dairy if you feel that’s what works for you.

  • Always be in touch with your doctor, especially if you are diagnosed with any gastrointestinal condition.

  • Stay away from trends. While trends can be powerful and sound promising, they can throw our body out of balance. For example, it is very trendy now to consume healthy fats. I agree, healthy fats are great, but suddenly consuming too much of it can throw us off. While it’s tempting to try all the trends, always listen to your body and take it with a grain of salt (no pun intended!).

  • This is only a sample menu… it’s definitely not what I ALWAYS eat. After a week I usually feel better and can start consuming a wider variety of food again.

You want to feel better but it’s still overwhelming. I get it. Contact me and let’s chat!

How to survive winter V: Snacks

During winter we really like to snack. Our body wants more energy to stay warm and awake, and our brain translates it to “Let’s eat more sweets!”. Sweets, mostly made of simple carbs and sugar, are a perfect supply of quick energy.

It’s no coincidence that this snacking season is between Valentine’s Day and Easter. It’s all part of a scheme to ruin your New Year’s resolution… or just call it WINTER.

I want to share three snack ball recipes that help me survive this craving without eating crap. My energy level always crashes around 3:30 pm, but two of these SAVE MY DAY. They have different textures and flavors but are all gluten free and vegan.

Enjoy :-)

IMG_1920.JPG

Vegan GF cocoa protein balls (crunchy)

About 20 balls

1 cup almond flour
4 tablespoons organic raw/vegan protein powder
1/2 cup organic nut butter (almond butter is my favorite)
1/4 cup organic chia seeds
1/4 cup cocoa powder (like Ghirardelli’s 100% cocoa)
2-3 tablespoons pure maple syrup
1 tablespoon organic coconut oil

Mix all the ingredients well (I do it by hand). It might not look/feel sticky, but it works! Just keep squeezing it together. Once it’s all mixed shape it into balls and refrigerate.

Good Ol' Chicken Soup

IMG_1657.JPG

Grandmas are the best. They have incredible wisdom, with their wrinkles and white hair. They have powerful knowledge that was gained before Facebook and Instagram. They actually learned to cook/bake with their grandmothers, and inherited old family recipes (and didn’t just check Tasty/Allrecipes).

This week I was a bit under the weather. I needed a quick fix. I felt like I needed a home remedy like some home-made chicken soup.

I wasn’t sure where to get all of the knowledge and wisdom I needed before going to the grocery store to shop for ingredients for the soup. “I need a grandma NOW” my brain was yelling.

Following some notes from my mom, I came up with this recipe. It was easy to make and grandma-like; comforting and forgiving. I realized while making this that it’s really hard to ruin chicken soup. The key is in the quality of the ingredients. And to use lots of them.

Makes 6-8 servings

6 chicken drum sticks (Organic if possible)
3-4 carrots, peeled and sliced in rounds
4-5 celery stalks, with leaves if possible. Slice 3 and leave the other stalks whole
1 zucchini, rough round slices
1 onion, cut into quarters
4 garlic cloves
2 small potatoes, rough cubes
1 medium sweet potato, peeled and cut into rough cubes
8 cups of water
A bunch of parsley and/or cilantro
Salt to taste

  1. Grab a big pot. If you prefer to remove the skin of the chicken before cooking the soup, here’s a trick: use a clean paper towel to pull the skin off. But you can also leave the skin on and pull it out later.

  2. Put everything in the pot BUT the potatoes, sweet potatoes and herbs. Bring to boil, then cover and simmer on low heat for like 40 minutes.

  3. After 40 minutes add the potatoes, sweet potatoes and herbs. Cook for 20 minutes or until soft (but not too soft).

  4. Use a strainer or a wide scoops, and separate veggies+chicken from broth. If you don’t do this step, the veggies will get too soggy. You also want to get the herbs out of the way. I never eat them, they are just there for flavor.

  5. To serve, make your own combination: it can be with many veggies or with just a little.

  6. Enjoy up to 5 days!