Sleep training–not only for babies!

I knew sleep training will help Rhoni to sleep better, but I didn't expect it to make me appreciate and reflect on my own bedtime routine. After I learned new tools to execute her sleep training successfully, I wanted to use them in my own bedtime routine, with the hope that I can finally get more sleep in.

I thought adults are just big babies. It must work on us too!

The biggest thing I've realized is that our body likes consistency. Our body likes to maintain patterns and behaviors: that is why we usually eat around the same time every day, have a steady range of body weight, and go to sleep around the same time.

But is that the IDEAL time for us to go to sleep? Do we actually get enough sleep and wake up well rested?

Differently from babies, we adults manipulate our behavior all the time. We are pros at ignoring our intuition and natural tendency, letting stimulations and popular activity take over. Of course we will prefer to stay up late and watch another episode, scroll more on social media, or get lost in TikTok. But is it really worth our time and sacrifice of sleep?

If we want to go to sleep earlier, we have to find a way to signal our brain that it's time to go to sleep, and fight all these habits that we like to do to push bedtime later. It's not a complicated process, it's actually fairly simple.

The difference is consistency: not to cave into our manipulation and follow through with the plan.

So what is *the plan*?

1. Set up a REALISTIC bedtime goal.

This should be no more than an hour earlier when you go to sleep now.

Why not earlier than that? We need realistic goals that we can actually achieve! If you want to do it even earlier than one hour, first accomplish the hour and continue with 15 min increments until you get to the desired bedtime.

2. Set a timer for 45 min before your bedtime goal.

Why not more than that? An hour is too long and we lose track of time and get carried away scrolling. That timer means you go brush your teeth and start your bedtime routine.

3. Decide on TWO bedtime routines *after* brushing your teeth.

  • Why not one? You need your brain to realize it’s time to sleep, and one action isn’t strong enough. These could be things like stretching or reading a book. Even going on your phone is fine, but you just have to keep an eye on the time. You can put an additional timer for that activity, for extra help.

  • Why brushing our teeth isn't one of the activities? This is the one activity that separates our evening from the bedtime routine. This is the transition moment!

4. Accountability.

Few options here: Write down the time you actually went to bed, take a pic with a time stamp, post a story on instagram, or even send a goodnight text to a friend. Any action that will prove to yourself that you did in fact go to sleep, will work. You can even use hashtag #bedtimeretune to join the community we have on instagram.

***

The key to success here is consistency. So if you didn't get to go to sleep at your bedtime goal it's ok, try again the next day! Remind yourself the goal (to sleep more!) and how empowering it will feel when you actually get more sleep, feel in control of your bedtime routine, and not just cave into wasting more time on endless apps.

How to avoid food waste OR How cheese can make everything better

stuffed peppers

We’ve all been there – stuck with too many things to cook but not enough time. I know no one wants to throw away food, but it’s also takes some time and energy to think how to use it all in a delicious way. Here are a few ideas about how to save your produce and leftovers:

STUFF: Too many bell peppers, zucchinis, mushrooms, cabbage, or even tomatoes? Use whatever is in your fridge or pantry to stuff them, top with cheese and bake. This gives them a nice upgrade and expands their life so they don't rot! Examples for stuffings:
Pre-cooked: Quinoa, Rice. Chicken. Beef
Canned/jarred: Beans, Salsa, Corn, Peas

RESHAPE: Have too many potatoes or sweet potatoes? Cut them to fries or chips and voila- you have a fun and healthy way to snack them. This can also work with carrots!

BLEND: Throwing things into a blender is an adventure, but can definitely create new variations. Think hummus: Take a base and add different things that might compliment it. Banana nice-cream is a classic (with frozen banana and cacao powder), but also try any sort of beans and spices to create different dips or spreads.

REPURPOSE, aka throw some cheese on it: Tired of eating that same chicken over and over again? Cut it to small pieces and throw on some chips. salsa and cheese for homemade nachos. Think pizza. You can’t really go wrong here. Eating leftovers was never meant to be boring! *Vegan cheese totally works too.

HALF IT: Only have half of a cup left from a can, but the recipe calls for a whole cup? Don’t give up! Just cut the recipe in half. It’s still worth it!

**This post it dedicated to my old roommate Mary Starkey and to my cousin Naomi (who never liked eating leftovers… )

What did my pregnancy teach me?

Everyone knows pregnancy is one of the most intense journeys one can make. I never thought it would be smooth and easy, but I was still surprised to discover new things about myself while I was going through it for the first time. Here are four things I learned and thought worth sharing:

  1. Pregnancy really emphasized how only I can decide what's comfortable for me. There are so many questions and decisions you have to make in the process from routine blood work to something more substantial such at-home vs. hospital delivery. Every step along the way there are lots details, and it feels endless and scary!
    No one can make these decisions for you. When it comes to being pregnant, some things feel more intense and stressful to some and bring peace and calmness to others. We are all different, and pregnancy only highlights these differences. Some of these that I had to make decisions on included: pre-pregnancy genetic testing, Covid-19 vaccine, amnio fluid testing, delivery location, and whether or not to work with a doula. Obviously there are many more, but these are the ones I took the extra time to do research and form an opinion on.
    It was hard to reach out to friends and family for advice because of how personal pregnancy is. People who do offer advice oftentimes project their own experiences onto yours, and usually they have nothing in common. You have to find your own truth and just go with it. I limited the amount of advice I was getting, and tried to make sense of what would be best for me every step of the way.

  2. I already knew I had to fight for the best healthcare for myself in general, but pregnancy brought so many new areas in this realm to concentrate on. It was quite the battle when I had to consider what will my health insurance cover, which hospital/clinic should I go to, which doctor should I see, which blood tests cover which concern, how much does delivery cost, etc etc. With all of these decisions I had to fight for the best care for myself. You really have to be pushy and stubborn, even if that means posting questions on Facebook groups, calling insurance companies until you have answers, and calling the doctor/nurse with extra questions. I did all of these with no shame and I'm really glad I did.

  3. Very early on in my pregnancy I realized my perfectionism had to GO. I just couldn't keep pushing my life like I did before being pregnant ,and I discovered a lot of flexibility and forgiveness towards myself (which I never thought existed). I was wearing the same things every day (leggings and a t-shirt/top), and zero make-up and jewelry. I didn't go crazy with what I ate or put on my body, and I tried to have a healthy balance; which included following some cravings. I figured that simple was better, and I tried to stay away from pregnancy trends like fancy prenatal vitamins. The cheap ones totally got the job done!

  4. In my third trimester, I found out that my baby was on the small side. This was one of the hardest days of my life. It was a big scare that required me to attend many extra doctor’s appointments and monitoring sessions. During that time it was crucial to stay positive and trust the process, even though it felt impossible. I came to find out that many, if not most, pregnancies have these moments of "scares", and it's really important to keep your head above water. These were the hardest moments of this journey, but I learned a lot and I was grateful for my medical team’s patience. If the team taking care of you seems to not be sensitive and enough, then that’s a sign you need to CHANGE to a different one. It's their job to give you the best care possible. This process is yours, and you should claim it.

Healthy Chocolate Chips Cookies

Gluten ans dairy free!

Gluten ans dairy free!

I’m not really a sweets person, but chocolate chip cookies were always my weakness. For a while now I was on a mission to find a vegan+ gluten-free chocolate chip cookie that does not apologizing for lacking these core and iconic ingredients. GF and vegan options can be SO disappointing sometimes, but deep inside I knew it can be done: it can be delicious and comforting just like the original version!

After many tries, I think I finally have it! I make this recipe often, as it’s so perfect for the afternoon sugar crash, and it passed the “Dave test”, who doesn’t care for gluten+dairy free diet. This recipe doesn’t call for fancy ingredients; it is minimal, easy, quick, and most importantly- makes real yummy cookies.

A few notes/tips:
1. If you are strictly on a gluten/dairy free diet, please CHECK the chocolate chips/candy ingredients, so you are not using a product with gluten/dairy by accident.

2. Make sure the almond butter (or any nut/seed butter you use) is completely SMOOTH and mixed. Usually the oil rises to the top of the jar. You should mix it very well before adding, otherwise the cookies might come out dry.

3. Wait until these are completely cool before trying them out! These will seem to be very soft when you take them out of the oven, but usually they are done after 8-10 minutes. Carefully check the bottom of the cookies for doneness level.

4. These cookies aren’t so sweet on their own… the main sweetness comes from the added chocolate chips. I usually pack them with chocolate chips, but it’s really up to you and your preference. I recommend using mini chocolate chips and not the regular CC, just because it’s easier to disperse evenly around this dough.

Ingredients:
1 flaxseed egg (1 tablespoon flaxseeds + 3 tablespoon water & let sit for 15 min)
1/4 cup coconut sugar
1 tablespoon maple syrup
Dash salt
1/2 cup GF oats
1 teaspoon baking SODA
1 cup smooth almond butter (or any nut/seed butter)
1/2 cup GF & vegan mini chocolate chips
1/2 cup M&Ms, walnuts or any other topping. *If using M&Ms it won’t be DF

Directions:
1. Preheat your oven to 350f and line two baking sheets with parchment papers.
2. Stir your almond butter super well, so it’s all smooth and creamy.
3. Mix all ingredients by the list order until well combined.
4. Scoop into balls (usually 16-22 depends on size) and slightly flatten.
5. Bake 8-10 min (depends on oven and size).

Things I've learned from my Autoimmune Protocol elimination diet

balance

In June 2020 I felt stuck. Yes, we were all stuck at home during a crazy pandemic, but I felt especially stuck with my body that was struggling, once again, with ulcerative colitis. I just didn't know what to do anymore!
I was struggling for a long period of time with this inflammation that got worse since we learned about the pandemic. I was already watching what I ate carefully and kept a food & symptoms diary; but nothing helped my inflammation.

I was put on steroids, which helped, but I was afraid of the moment I would finish the dose. Will my body recover? Will the inflammation come back? Taking steroids felt terrible and I didn't want to continue them, but I also wanted the inflammation to finally be GONE.

This is when I found out about the Autoimmune Protocol diet through some Google searches. While I tried elimination diets in the past, I had never tried this specific one that is supposed to target autoimmune conditions. Here are a few of my thoughts about this elimination diet:

1. It seems like a very limited menu. IT IS! But it does get easier when you find your favorites and plan around them. I found most of the recipes online for free, and only purchased one cookbook to help with variety.

2. Get ready to experiment in the kitchen and expect to fail sometimes. Many of these recipes are not your regular go-to, and some use unique ingredients and cooking techniques. I had to find patience with myself and not get too angry if something didn't turn out well, or didn't sit well with me. For example, gelatin eggs are recommended in many recipes but I just couldn't stand it... I had to let it go, even after I spent $20 on a big container of it...

3. It's a high maintenance journey. I was working from home during my time on the AIP diet, and I don't know if I could have done it successfully if I had to leave my house for work every day. It takes lots of cooking and prep time! Also, at home there are less temptations or reminders of other foods. I think finding a timeframe that works for you with no big events in the future is the key to success of this program.

4. Focus on what you CAN eat. Fill your house with lots of AIP compliant foods and don't be hungry. While it might be a by-product of this diet, this system is not for weight-loss! I was eating whenever I was hungry, and always had snacks nearby.

5. Get your support system involved! I got my husband to try (and happily eat!) most of the foods I made. It's much easier if you have a buddy to go through the process with you.

6. Find shortcuts. There are ready-made foods and snacks in some grocery stores like Sprouts and WholeFoods! I lived on Rotisserie chicken and some paleo puffs during the whole diet. Learn to read labels and do the research at home, then find them at your grocery store to save some time in your kitchen. They do exist! (Like grain-free pasta, no tomato sauce, etc.)

7. Some of these special foods are very pricey. I wasn't even aware of cassava flour or coconut yogurt before, and they are NOT cheap. Also, counting on high quality protein and vegetables as your main nutrition really adds up. BUT it is worth it, especially if you know you won't be doing this restricting menu forever.

8. Simple, basic foods with 1-4 ingredients are the way to go, even in our post-AIP life. If you can eat basic foods that are not processed, that is the best possible thing you can do for your body. Replace snacks with raw fruit and veggies, and eat meals with products that only have a few ingredients. The key is in the preparation and quality of the produce!

9. Final conclusion? This diet helps you restart your body, and it gives your system the opportunity to heal. Before this experience I generally knew which foods did not make me feel well. As a result of this diet I didn't discover any new ones, but it reassured my suspicions. I do feel like this was a harsh but needed restart, while I cut out any foods that were possible offenders. As of when I am writing this, my inflammation did not come back yet. I'm still avoiding many foods, but at the same time, I experiment with consuming some of them in small doses or once in a while.

For my case, the AIP diet was totally worth it, and I hope my remission will last for a while!

Oat vegan pumpkin muffins!

oat+pumpkin+muffins

For the past 4 years my breakfast was pumpkin muffins on repeat. Fall, winter, summer, it doesn’t matter! They are sweet, comforting, and a great breakfast on the go. Easy to prepare a dozen before starting the week and running out of time for healthy breakfasts.

Before I did AIP diet I had one favorite recipe (linked here!), but it had protein powder, which I didn’t reintroduce yet! So as soon as I introduced oats back to my life, I found this NEW favorite recipe. So comforting and yummy. I eat two a day…

These are gluten-free, vegan, and can be customized with different toppings like chocolate chips, walnuts, raisins… get as wild as you want!
Ingredients:
Wet:
* 1/3 cup extra-virgin olive oil
* 1/3 cup maple syrup or honey
* 2 eggs or flaxseed eggs
* 1 cup pumpkin purée
* 1/4 cup milk of choice (I used almond milk)+ 1 tbs apple cider vinegar
Dry:
* 2 teaspoons pumpkin spice blend
* 1 teaspoon baking soda
* 1/2 teaspoon salt
* 2+1/2 cup GF oat flour (just grind your oats until they are super fine!)
Instructions:
Mix all wet and dry ingredients separately. Then mix dry and wet together until well combined. Add chocolate chips, walnuts or anything you want!
BAKE at 325F for 25 minutes!

AIP Pumpkin Muffins (vegan+AIP)

6F6F2170-C8CF-4A58-BEFE-EE6E0F9FFA39.JPG

If you’ve been following me for a while, you probably know I’m obsessed with one breakfast and one breakfast alone:
Pumpkin muffins. Here’s the OG recipe…

Yea, it’s been going on since like 2018.
Going on AIP diet was hard, but the hardest meal for me was breakfast.
SO MANY muffin fails. It was so bad. But I didn’t give up. I needed these pumpkin muffins!

Today I want to share with you this AIP compliant recipe. I’ve tried it many times by now and it WORKS. I’m finally myself again, while staying gluten and dairy free!

A note about cassava flour: this recipe only works with Pamela’s cassava flour. Apparently Cassava flour is very finicky and different brands will produce different results. But, it’s a great GF flour that I think works well if you have a solid recipe.

Dry:
1 cup cassava flour
½ cup arrowroot powder OR tapioca flour
1/2 teaspoon baking soda
1 cream of tartar (or baking powder if not AIP)
1 teaspoons cinnamon
¾ teaspoon sea salt

Wet:
2 gelatin eggs (or flaxseed eggs if not AIP)
1/2 cup coconut sugar
1 cup pumpkin puree
1/3 cup mild olive oil

Mix in separate bowls the wet and dry, before combining together. Be careful not to over mix! As soon as it’s combined, divide to 12 cupcake cups and bake for 23-25 min.
*ENJOY*

E96D6BF7-3CE5-4E75-BF4A-F058F35FDD1E.JPG

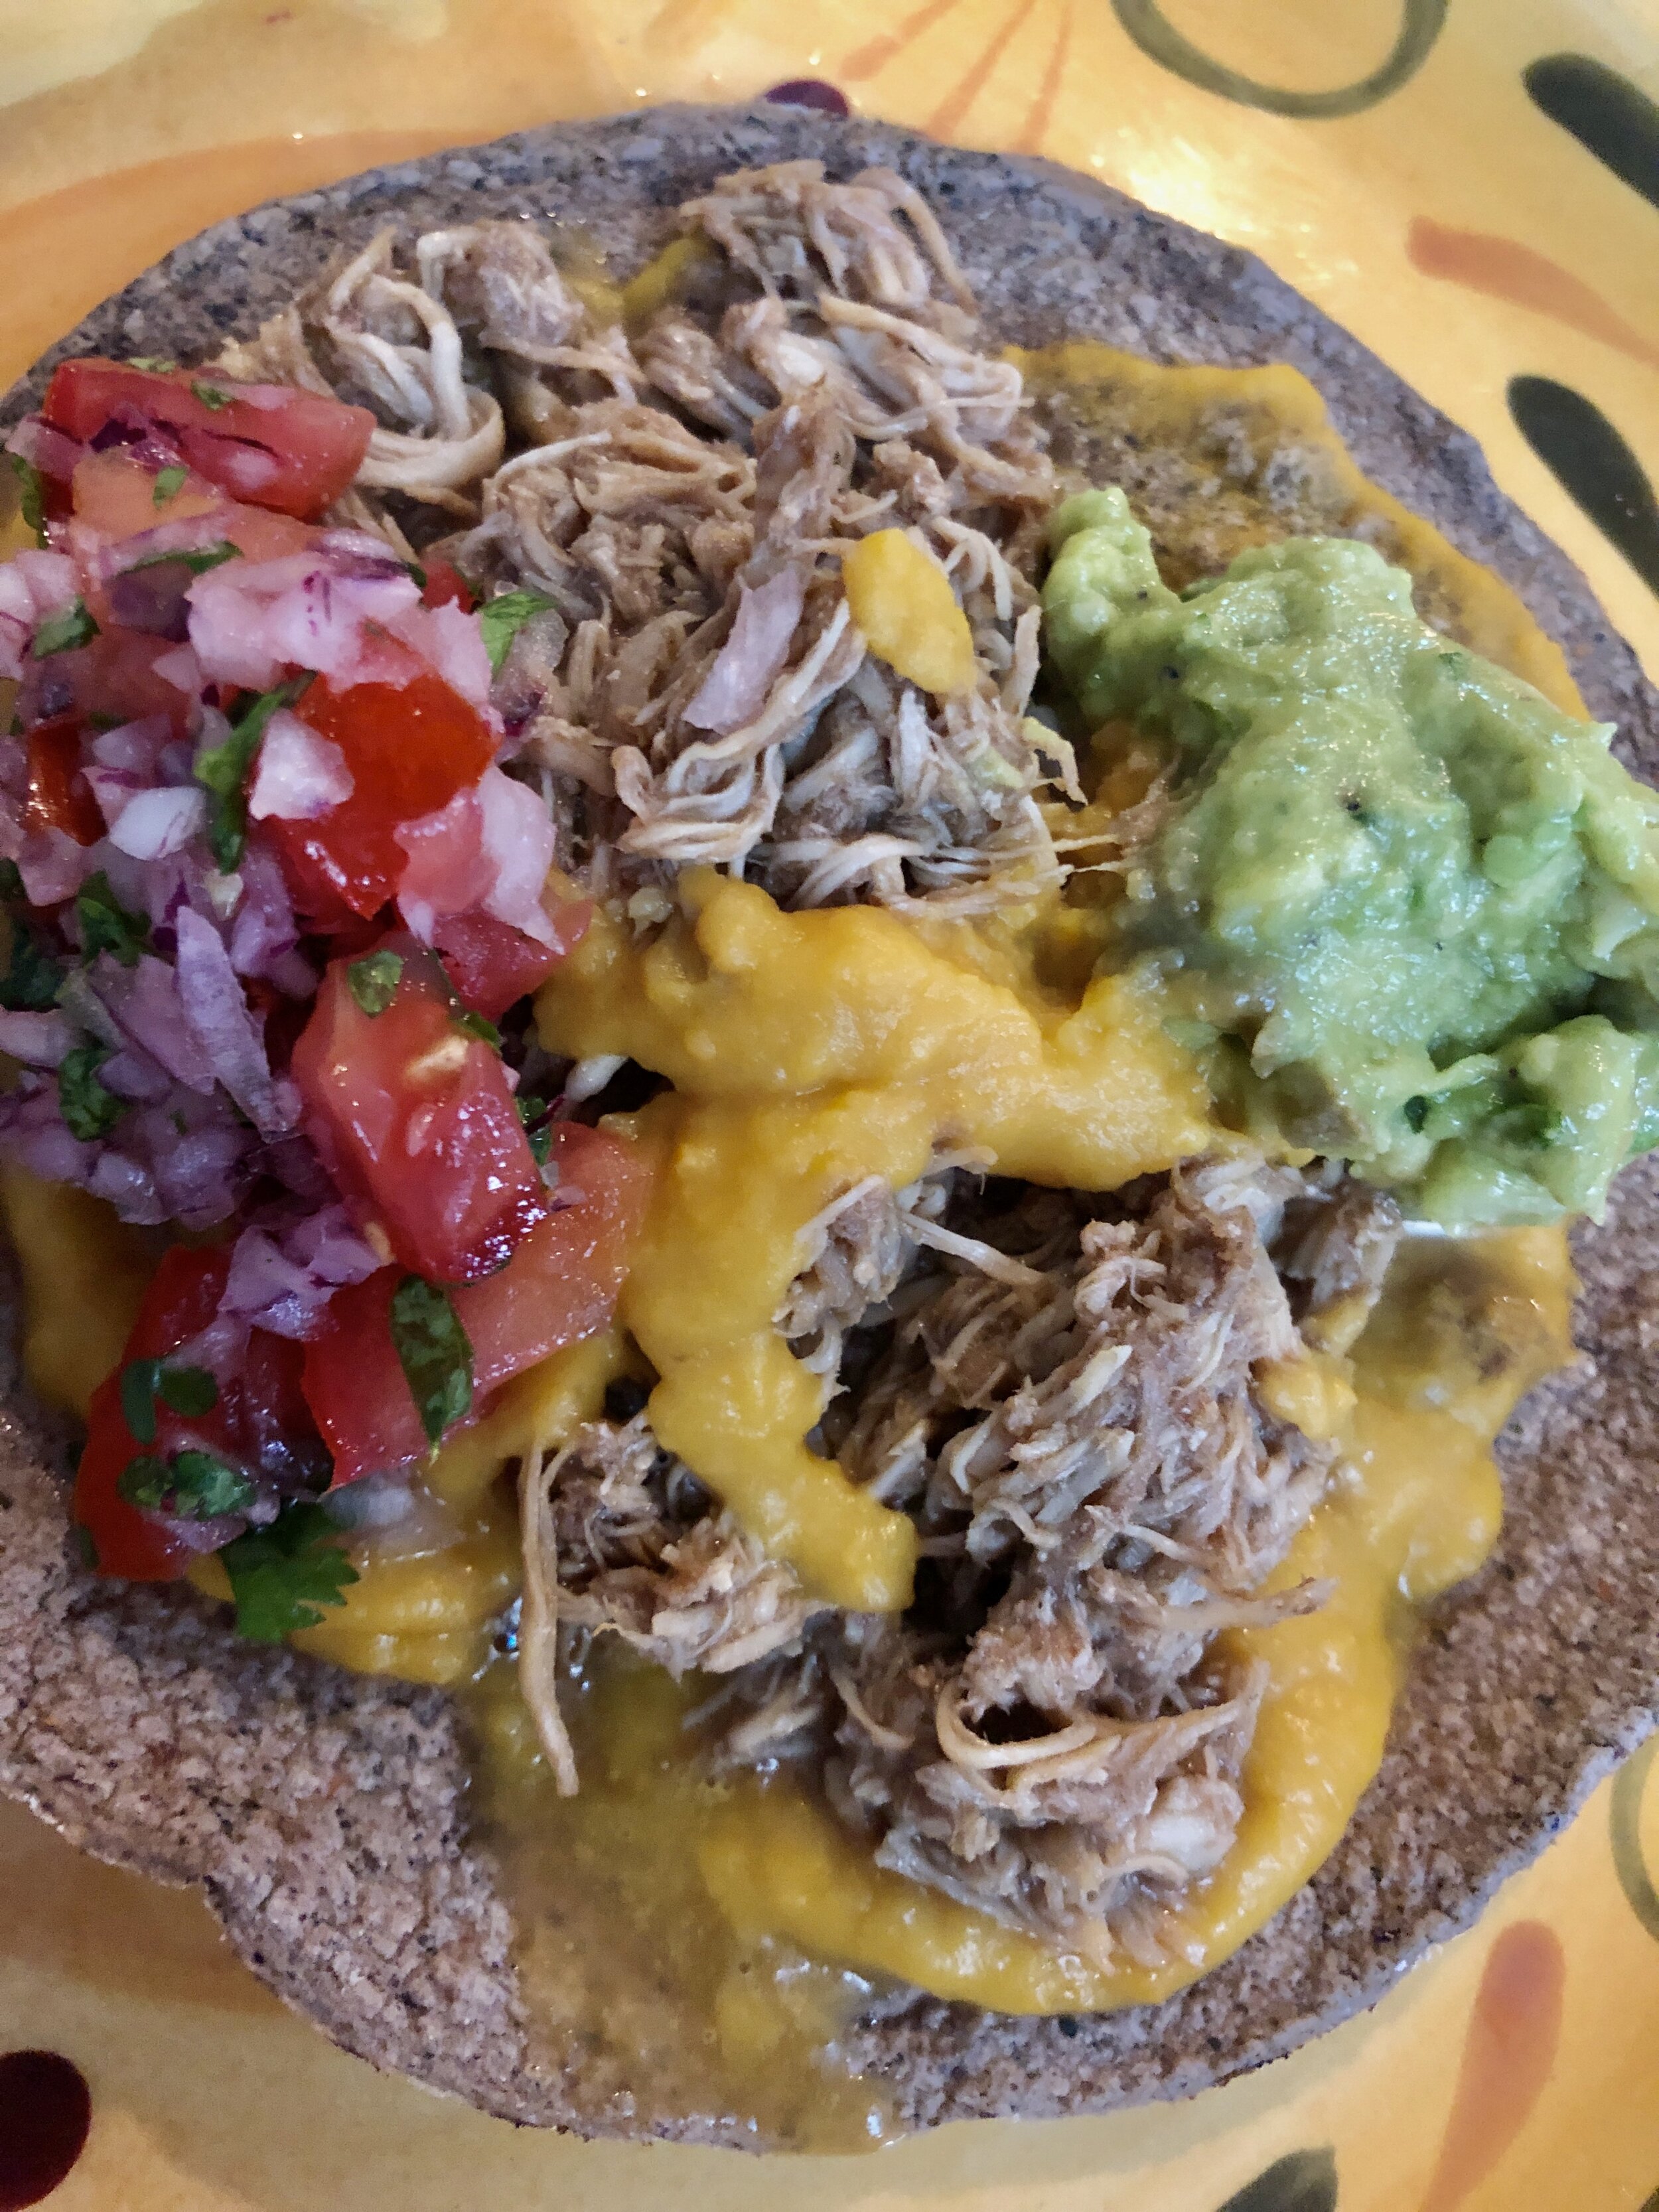
AIP vegan "Queso"

queso

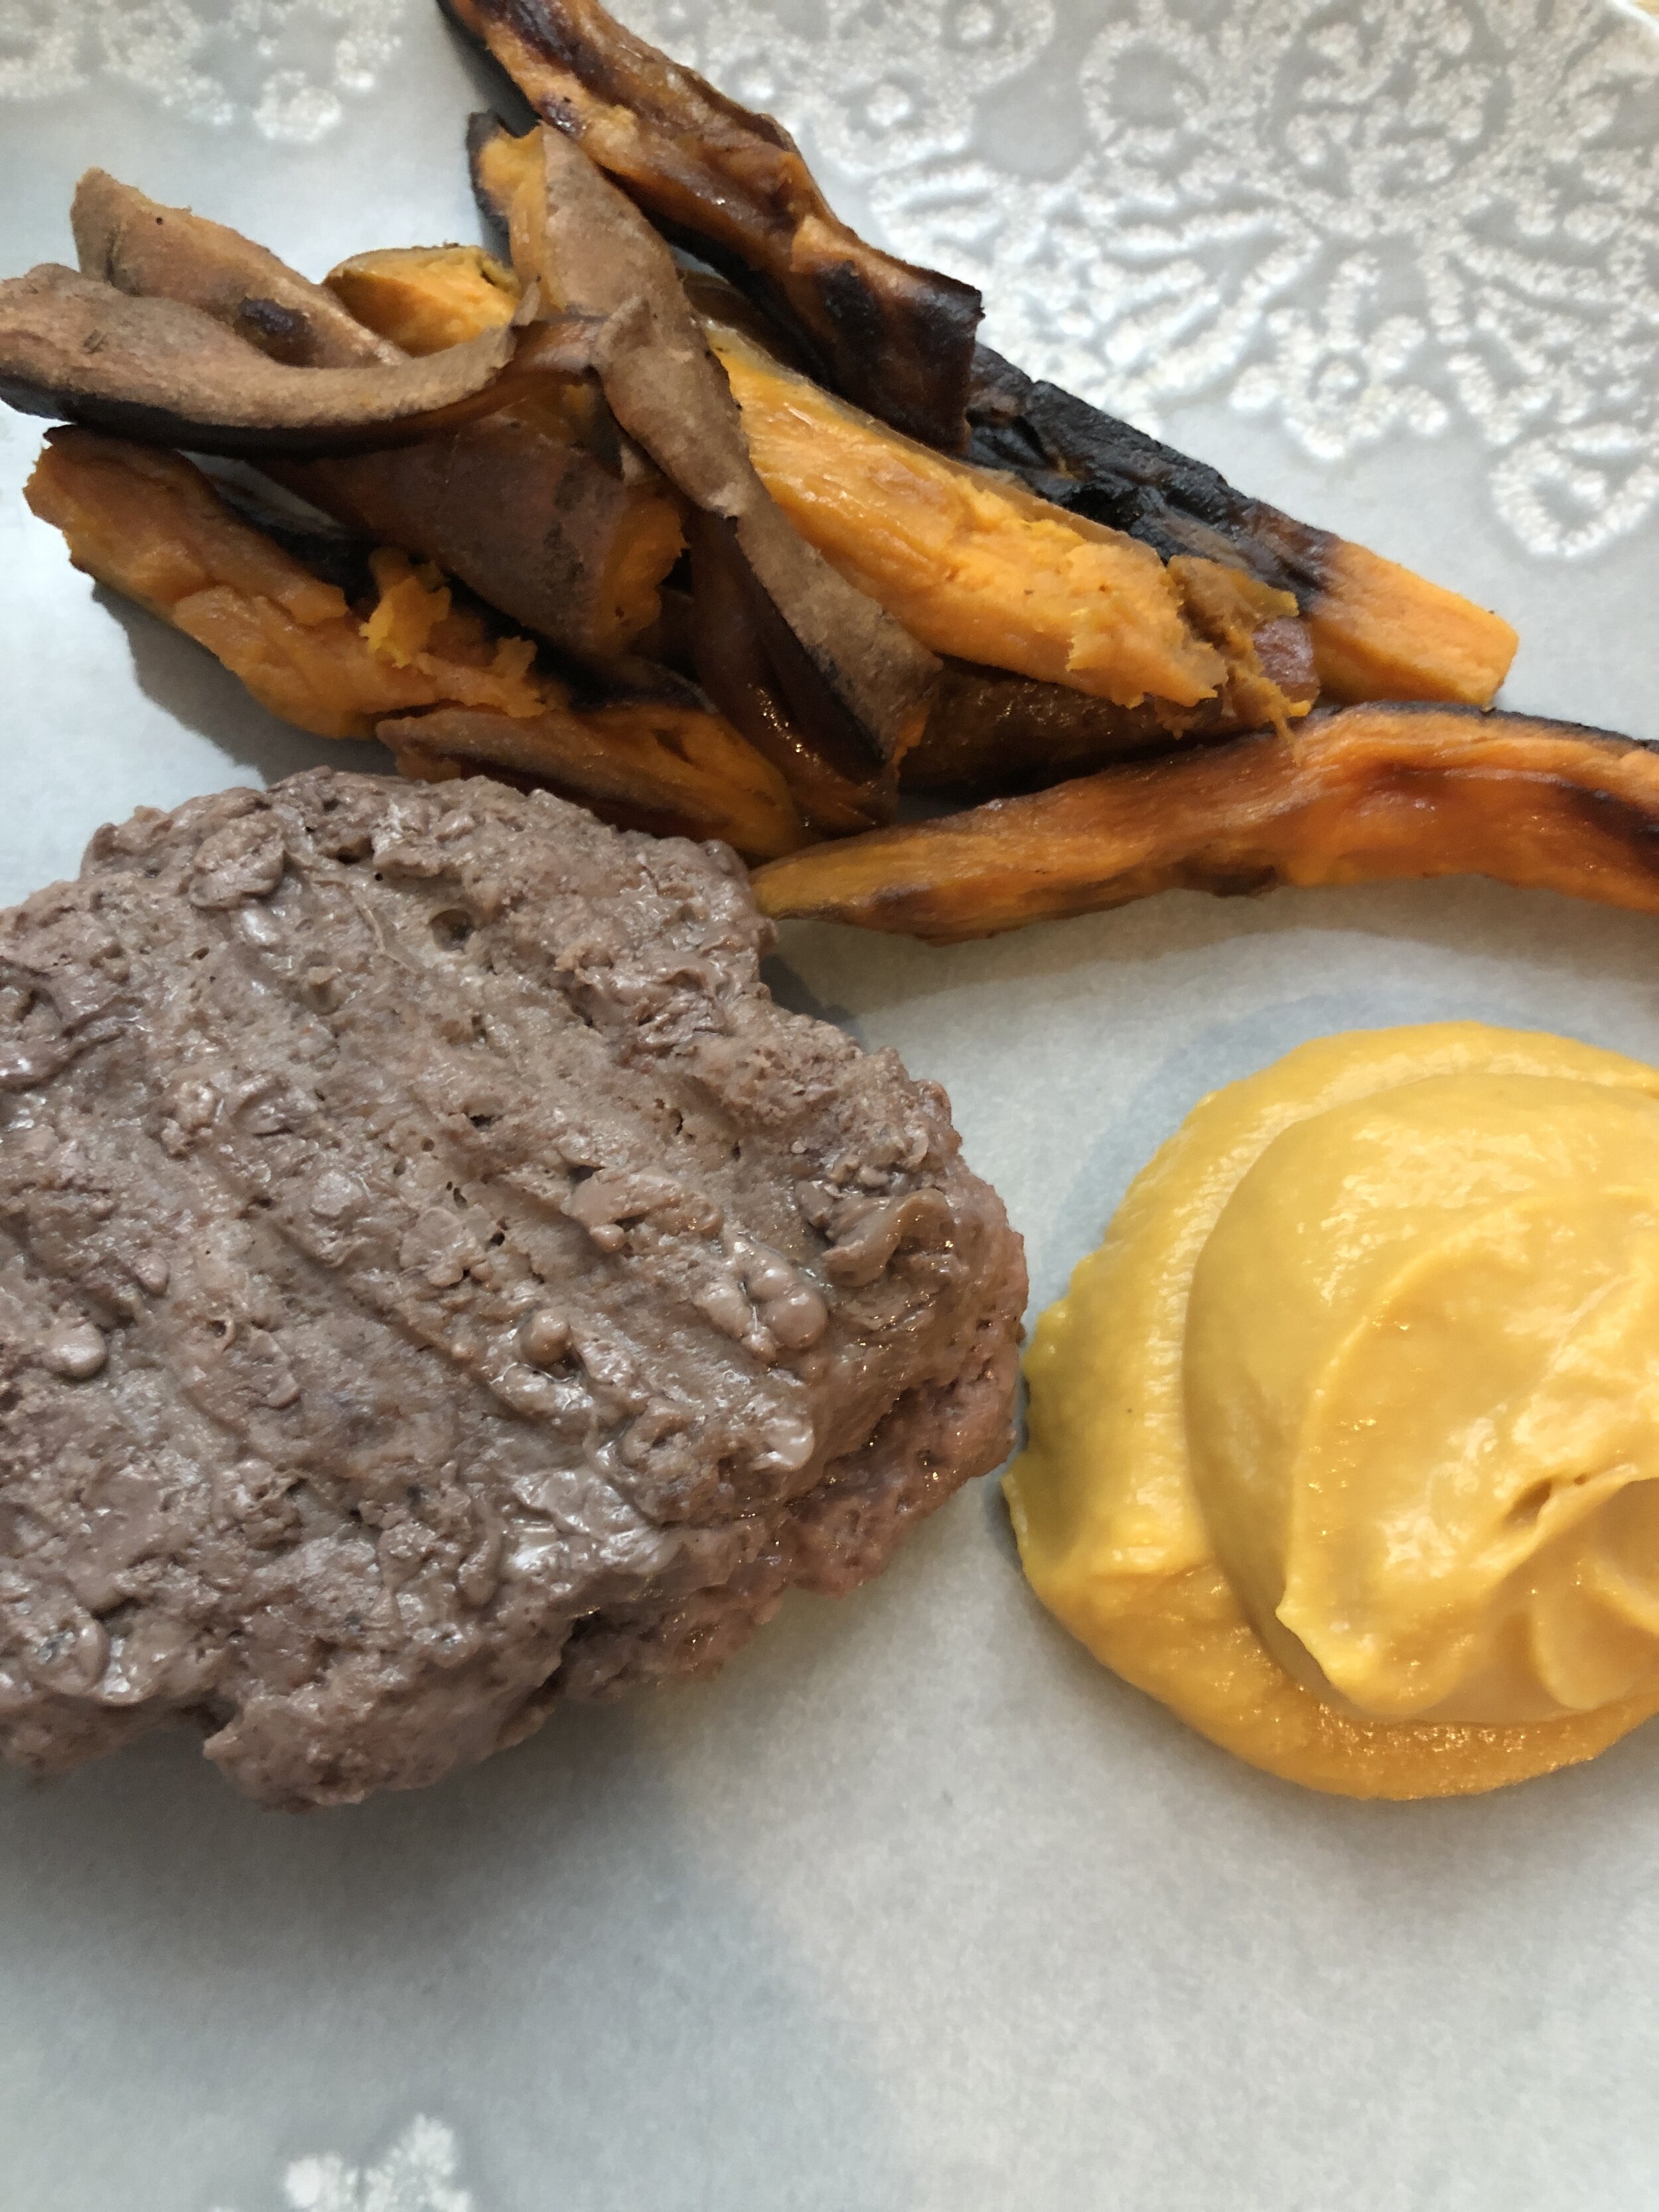
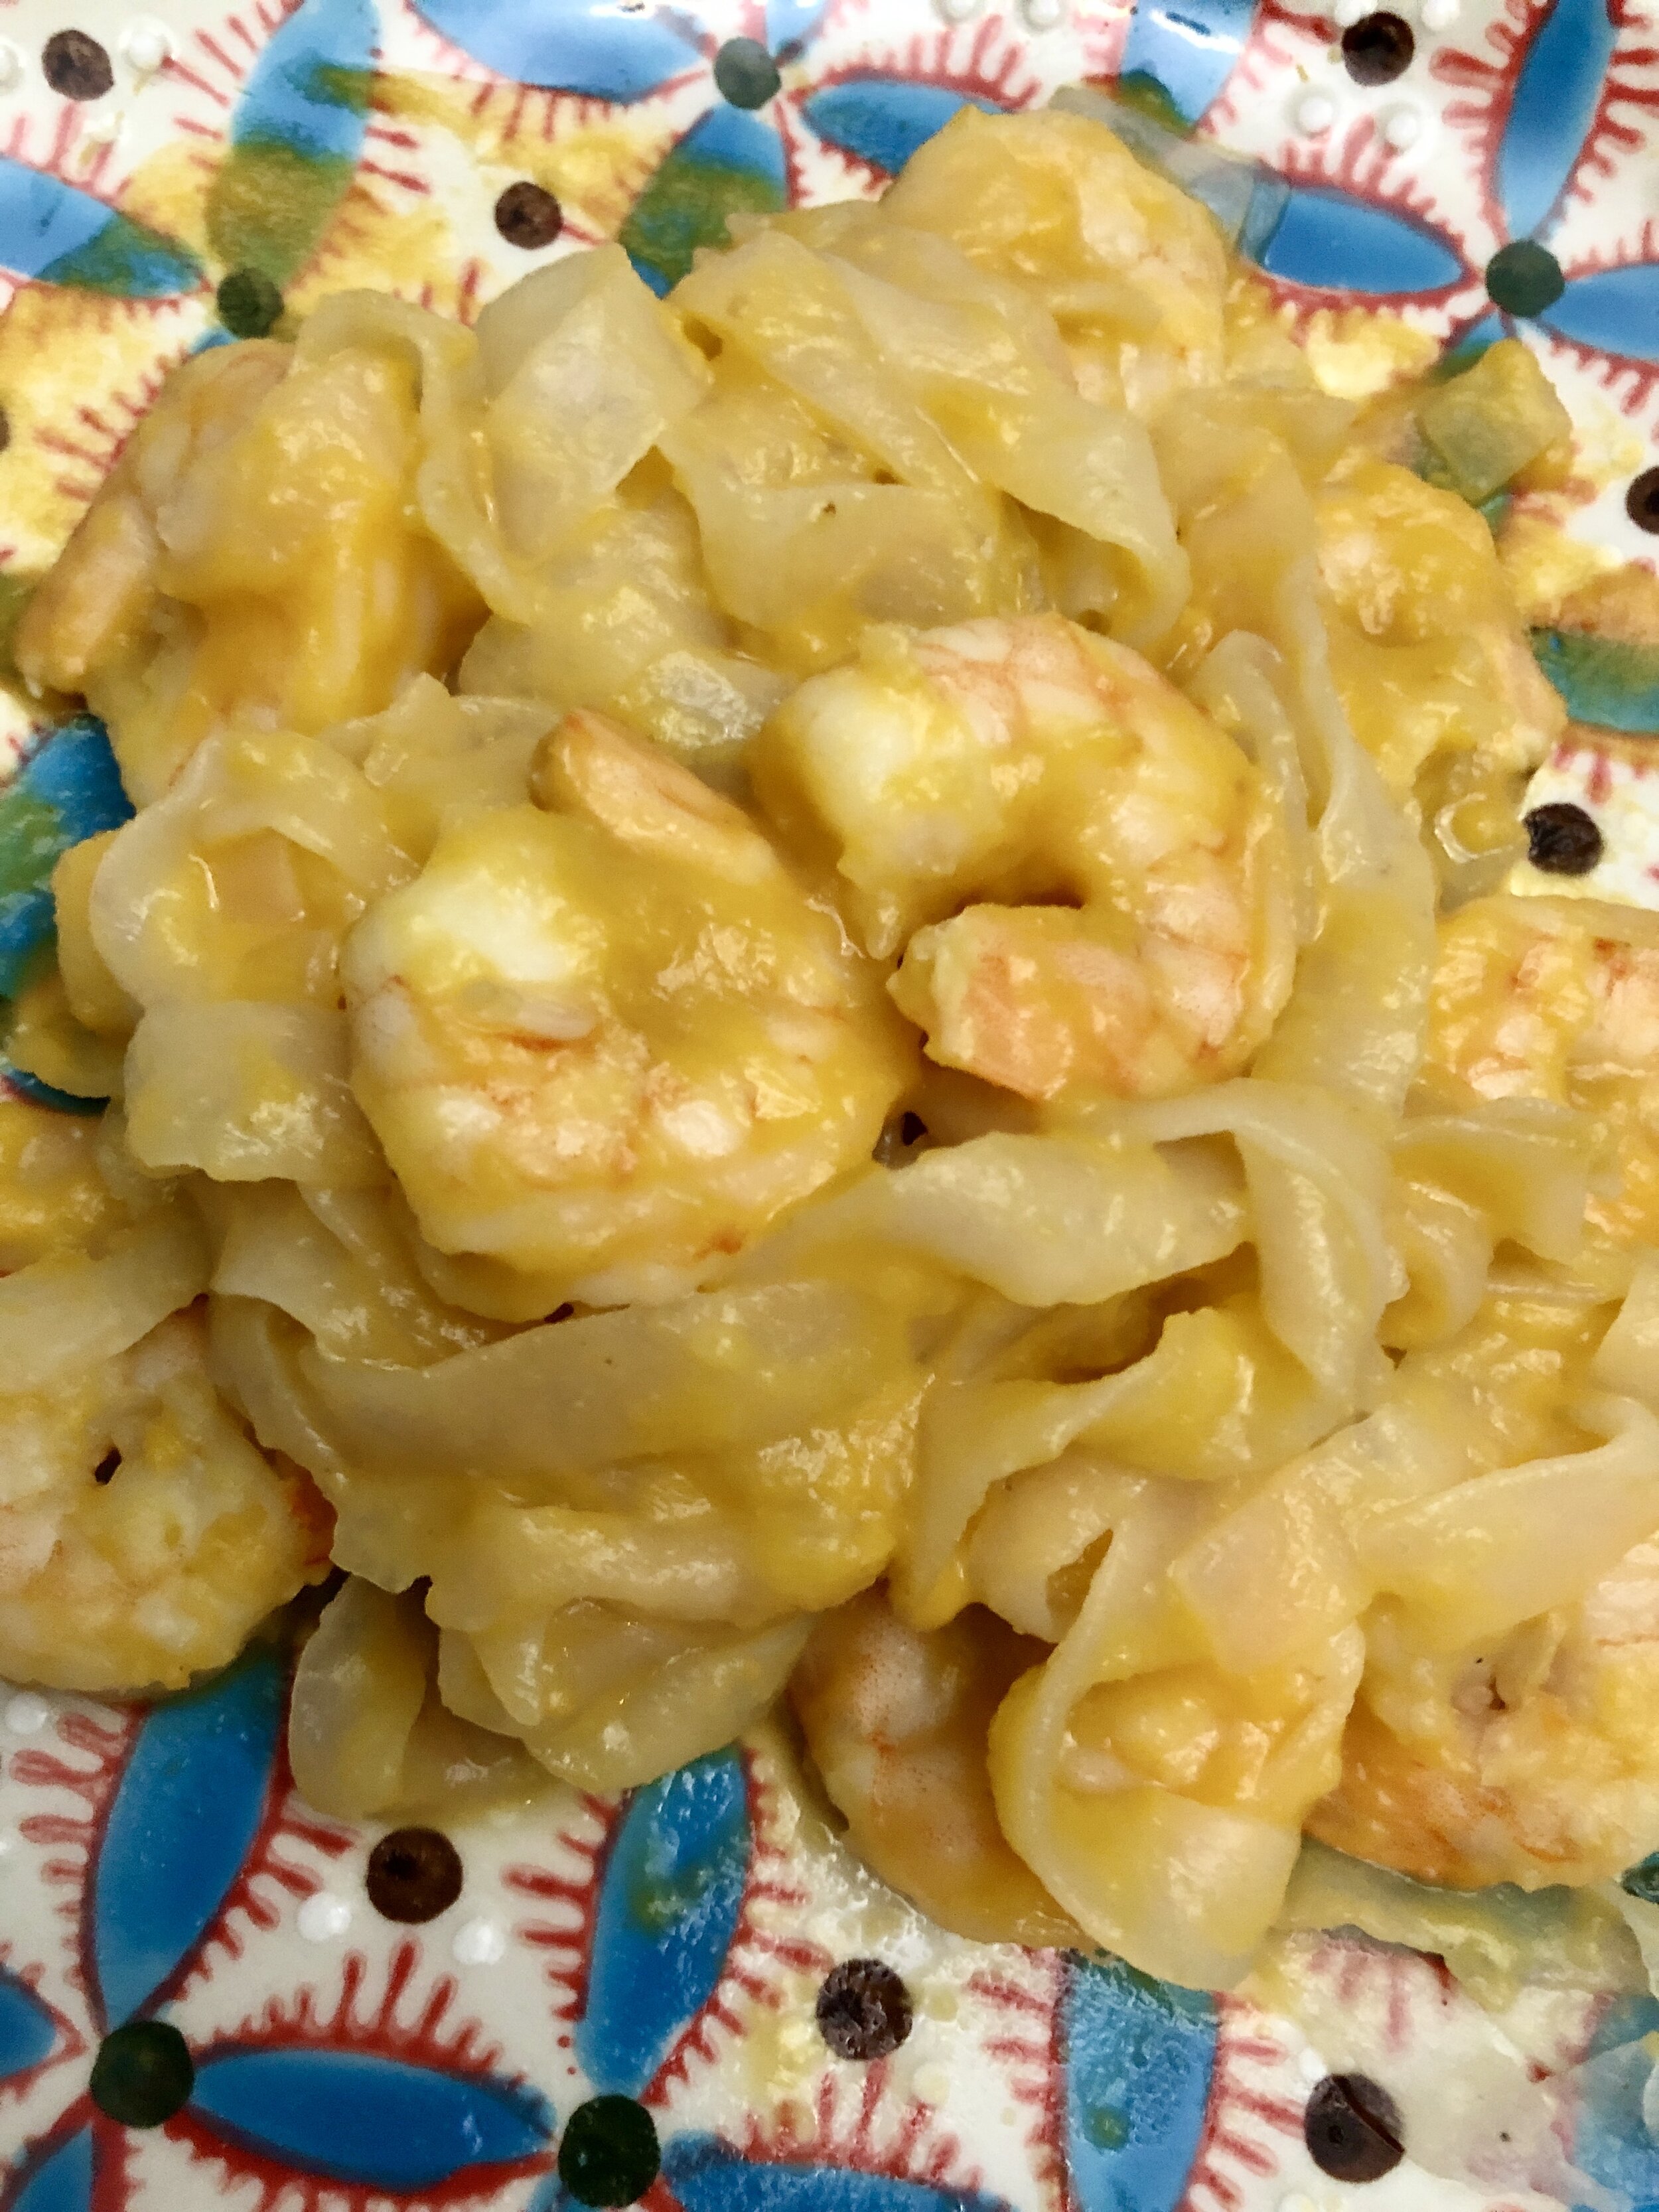
Meet the AIP vegan “Queso” sauce/dip

Who thought a pandemic would be a good time to try new things to benefit our health?

A few months ago, I found myself stuck at home with my gut inflammation that refused to go away. After doing another round of online research, I decided to try the Autoimmune Protocol (AIP) Diet. It's an elimination diet, and while I've tried others before I thought to give this one a go. In the *old world* it was really hard to do an elimination diet, especially during long days with work and gigs. Now since I am home all the time, I didn't have any excuses.

I decided I did not want to be hungry despite the limited choice of food you can eat. So, I filled the house with AIP compliant foods and ingredients and spent most of my waking hours researching recipes. I wanted to be creative and have fun with it. I could finally unleash the crazy kitchen scientist in me. 

What did I miss the most? CHEESE. It's impossible to find something to fulfil this craving for cheese. All the vegan cheese replacements have SO many additives that are not allowed in this diet (and things we should avoid in general anyway). I was really shocked by how I couldn't find ONE cheese replacement that didn't have all this sh+t. 

After some trial and error, I created the perfect "queso" that really helps with my cheese cravings. The butternut squash and coconut milk make it creamy, the sweet potato makes it sweet, and the nutritional yeast and salt make it tangy. 

I like it so much that I started to make double batches. Actually, even Dave is hooked and he's not on AIP! 

I hope you like it. Don't forget to tag/comment and let me know what you think!

Ingredients:

1 tbsp olive oil
1/2 onion, diced
1/2 cup sweet potato, peeled and diced
1 can butternut squash puree1/2 cup coconut milk ("full fat", usually in a can)
3 tbsp nutritional yeast
1 tsp sea salt (be generous with the salt. add more if needed!)

What to do:

1. In a medium pot warm the olive oil on low heat
2. Add the diced onion and sauté until soft
3. Add the sweet potato and sauté 3 minutes with the onion
4. Add butternut squash puree and coconut milk and raise the heat to boil
5. Reduce heat and let simmer for 20-30 minutes, until sweet potato is very soft
6. Add nutritional yeast and salt
7. Remove from the stove and with an immersion blender make a smooth dip (a regular blender can work too, it's just more of a mess to clean up)

Serving suggestions: